![]()
|
|
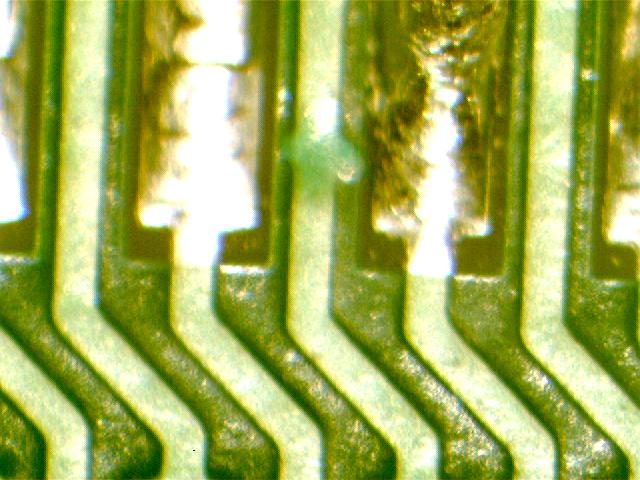
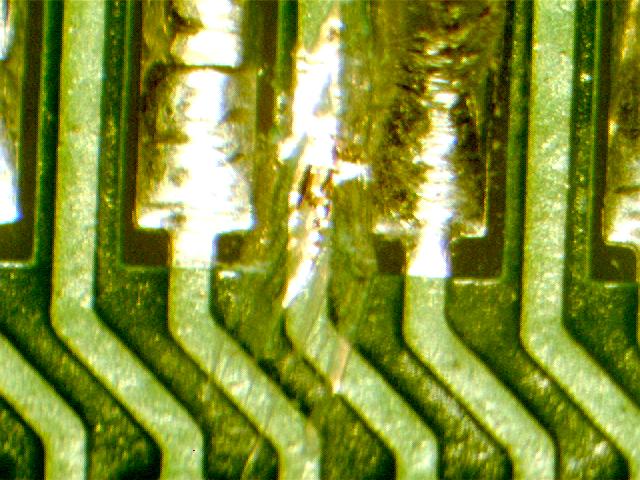
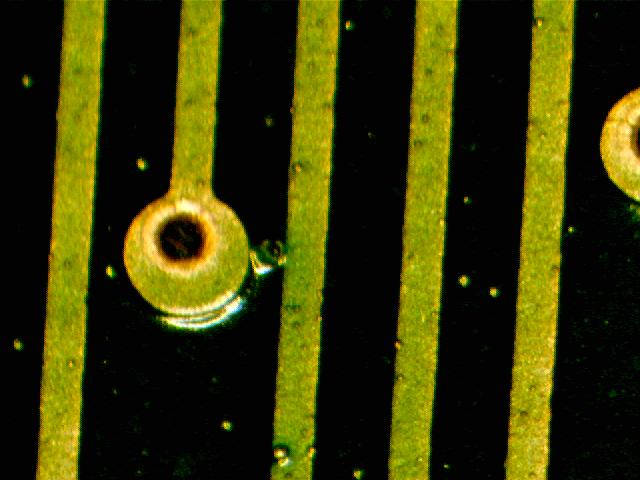
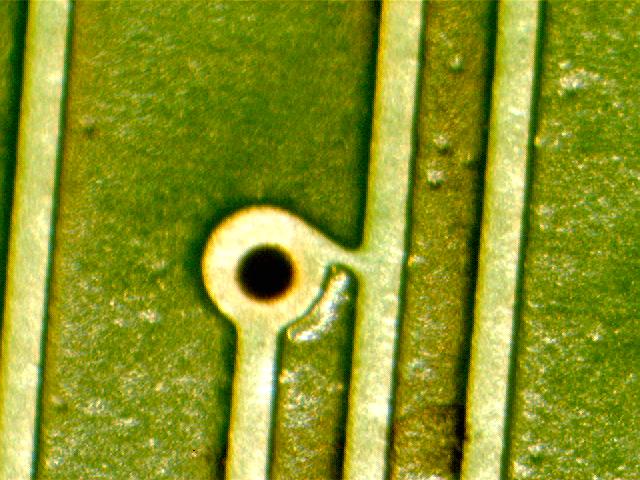
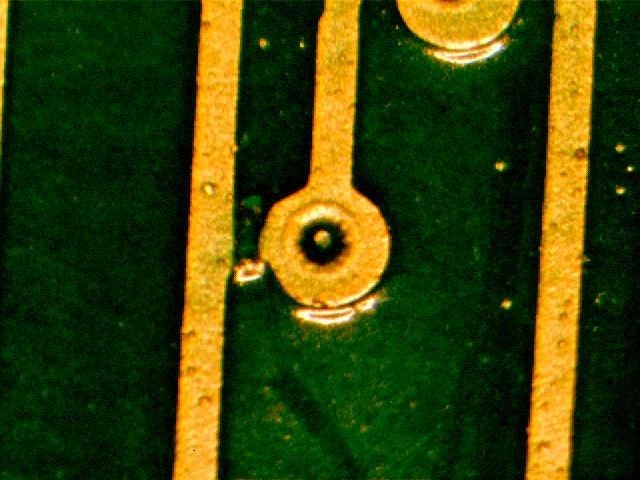
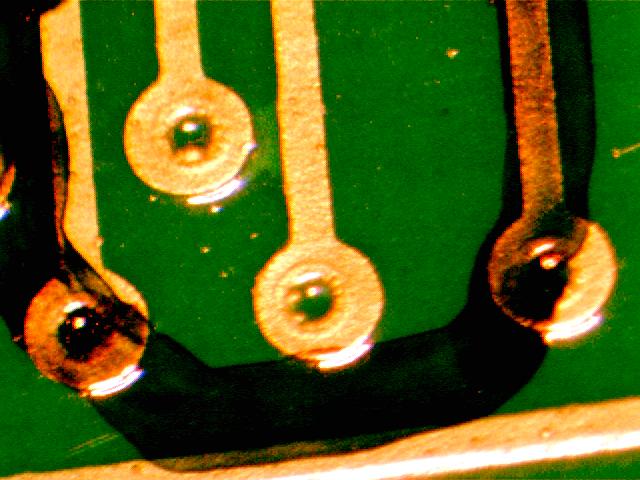
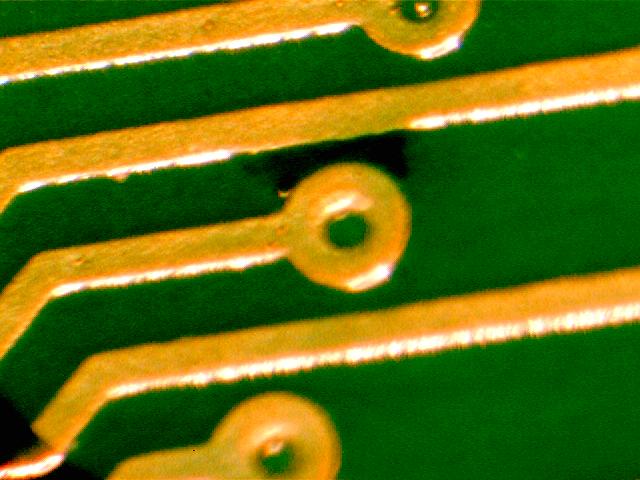
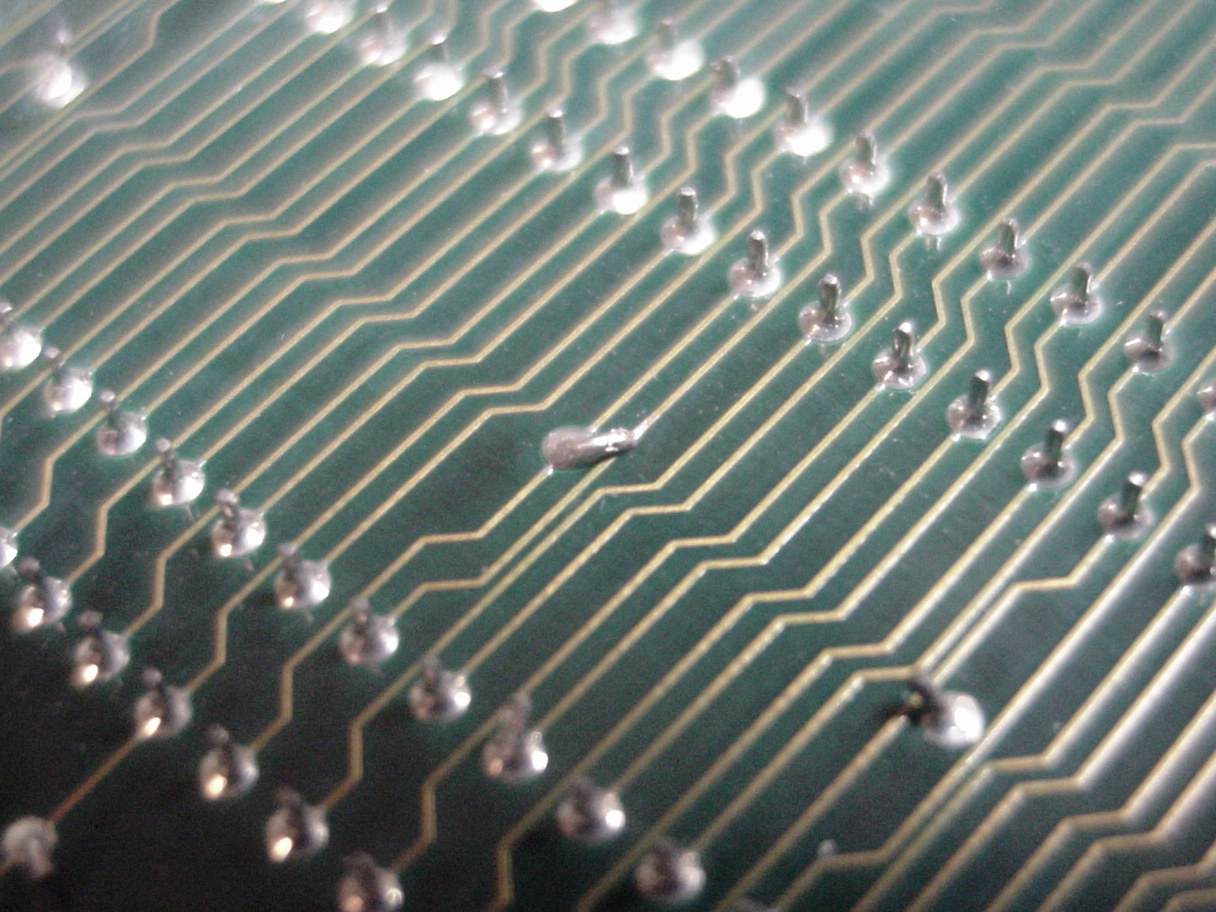
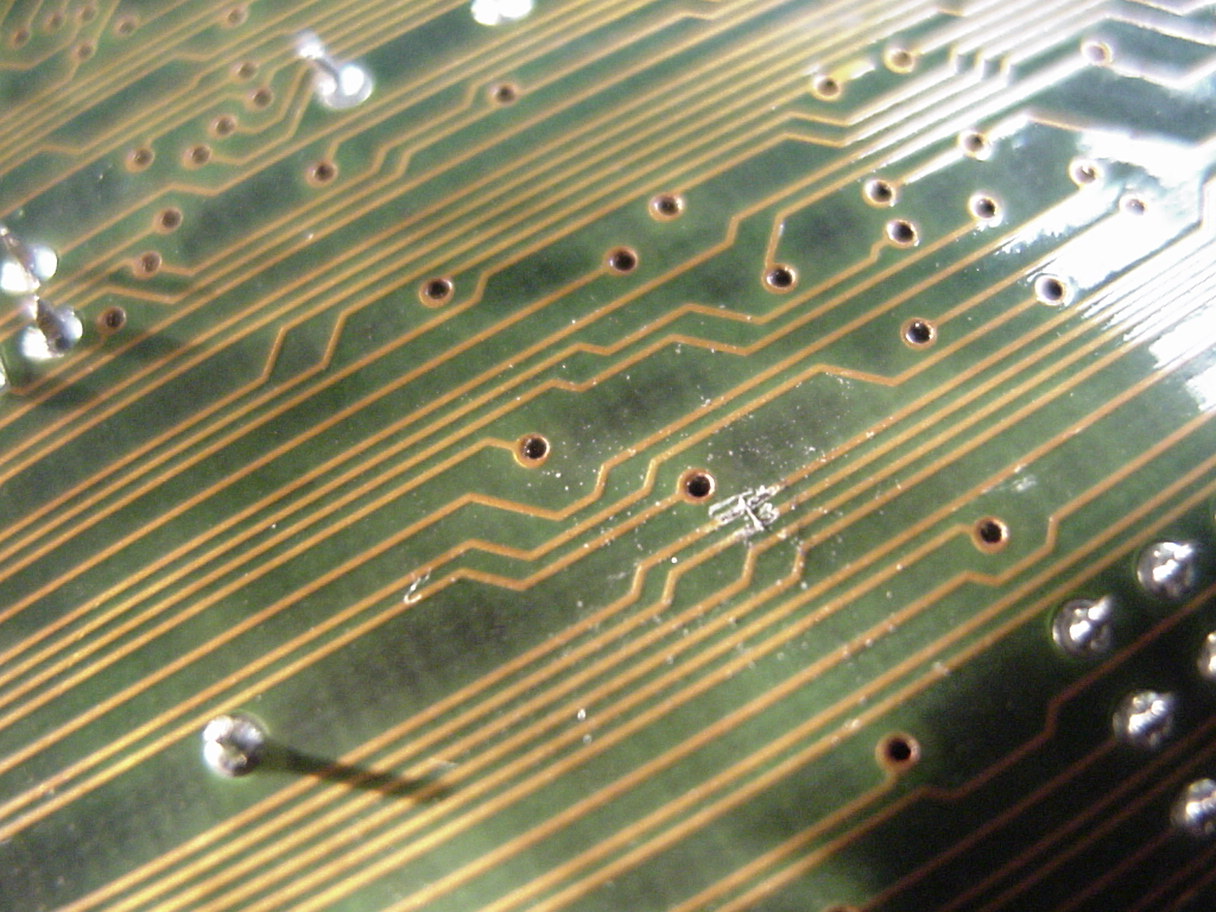
The key operating concept is simple: Follow the Sound to the Short.Here are some links to the newest YouTube ShortSniffer Videos ShortSniffer Practice Board 1 - Path Tracing Details ShortSniffer Practice Board 2 - Current Direction ShortSniffer Practice Board 3 - Working with Planes ShortSniffer Practice Board 4 - Planes and Gain ShortSniffer Practice Board 5 - Parallel Diode ShortSniffer Practice Board 6 - Parallel Capacitors ShortSniffer Practice Board 7 - Parallel Inductors ShortSniffer Practice Board 8 - Following a Complex Path ShortSniffer Practice Board 9a - Probe Selection- Sensitivity ShortSniffer Practice Board 9b - Probe Selection- Resolution Troubleshooting Example - Troubleshooting process on a batch of production fall-outs:This video consists of an introduction explaining the problem of a group of non-functional boards that were received from our assembly house, followed by the process of finding symptoms of the cause, progressing to finding the shorted nets. The video finishes with the ShortSniffer identifying the exact location of the short circuit. These were real PCB faults on "Electrically Tested" boards. (can you spell fraud?) Watch Video on YouTube (7 minutes) The video shows the ShortSniffer action on defective PC board. Since there were 8 boards with similar problems, I spent about an hour finding the 8 short circuits, fixed those problems with a microscope and an Exact-o knife, then tested the boards again with 6 boards passing. Repeating the process on the remaining two bad boards, I found two more shorts, which were quickly removed. Here are some pictures of the shorts I found: Pictures of Shorted traces from this batch of boards (click for larger views)
Here are some more videos of ShortSniffer action. Watch and Hear as we follow the sound of the current to the short circuit location.
The links (below) are MPEG presentations of ShortSniffers in action. They show how rapidly you can pinpoint the location of your shorts when guided by sound. If you do not get smooth video and audio results, try downloading the files first (MS-IE users: right-click on the link, select "save target as", note location, for example, "desktop") then activate your MPEG player by clicking on the files (in succession). This method of viewing yields better synchronization of video and audio. (sequence #3 is lower video resolution so it downloads faster.)
picture sequence #1 sniffing short #1: Video Segment 1A (1.4 Meg MPEG) Video Segment 1B (1.4 Meg MPEG) Video Segment 1C (1.4 Meg MPEG) close-up still of Short01 (270k JPEG)
picture sequence #2 sniffing short #2: Video Segment 2A (500k MPEG) Video Segment 2B (500k MPEG) Video Segment 2C (500k MPEG) Video Segment 2D (500k MPEG) Video Segment 2E (500k MPEG) Video Segment 2F (500k MPEG) Video Segment 2G (500k MPEG) Video Segment 2H (500k MPEG) close-up still of Short02 (280k JPEG)
Segment #3 is a sequence showing a short sniffed from the opposite side of the board, simulating finding a short under an IC or on an inner board layer. Video Segment 3A (230k MPEG) Video Segment 3B (230k MPEG) Video Segment 3C (230k MPEG)
Note: The previous sets of videos featured shorts that were intentionally placed on the boards to demonstrate the functionality of the ShortSniffer products. Most real world ShortSniffer successes are immediately repaired, without a chance to document them. As impressive "real world" successes are captured on video, they will be added to this page.
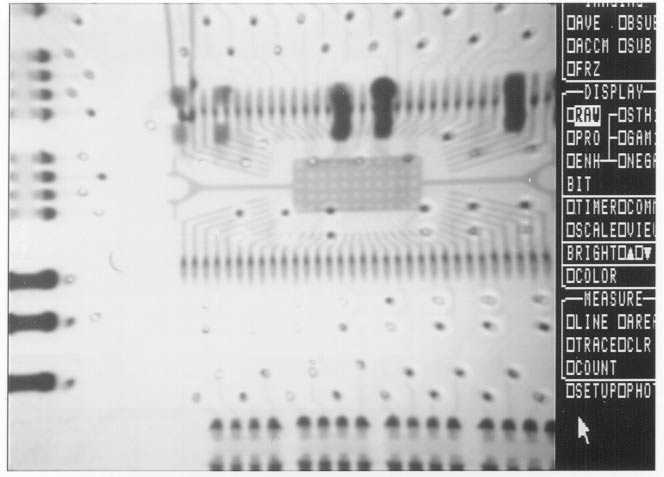
Here's the SS2 in Action with Finding Real World Shorts:Here are some shots of a 18 layer prototype board that had been electrically tested (good) before assembly. There is a 3.3V short to Ground somewhere on the board. The BGAs were X-Rayed and looked good. Where is the short? This is a job for the SS2! Connecting the current signal into the power pins, I chose the Sensitive probe and waved the probe across the board on a 1/4 inch grid . . . nothing . . ? I soldered some wire leads across a bypass tantalum cap at the other end of the board and clipped the current leads there. Another "grid wave" of the probe showed a "hot" area where the power plane current was concentrating (at the short). I checked the other side of the board and found a stronger signal running under an IC (near pins 31 and 32 which were power and ground)! To narrow the possible area of the short, I tack-soldered a pair of #30 wires to the two pins and connected the SS2 current injection leads to the wires. Changing to the Tiny probe, I found that the current didn't go past the inside dimensions of the PCB pads for those pins. By rotating the probe 90 degrees, the maximum signal (cross over point) seems to be near the inside third of the pads. The board owner was able to X-Ray the board to verify the position of the short. Check out the X-Ray to see how well I did!
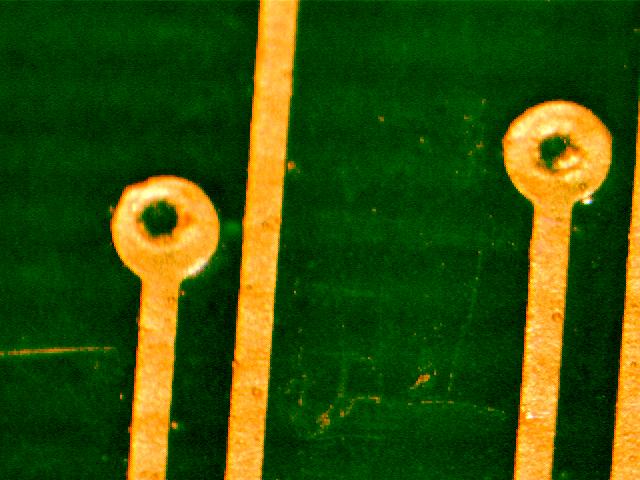
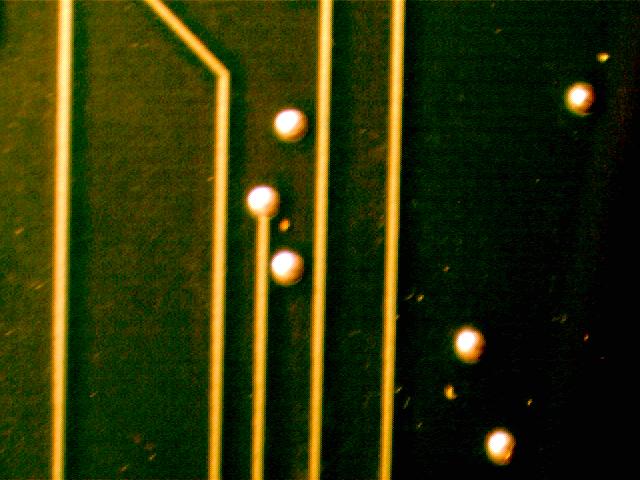
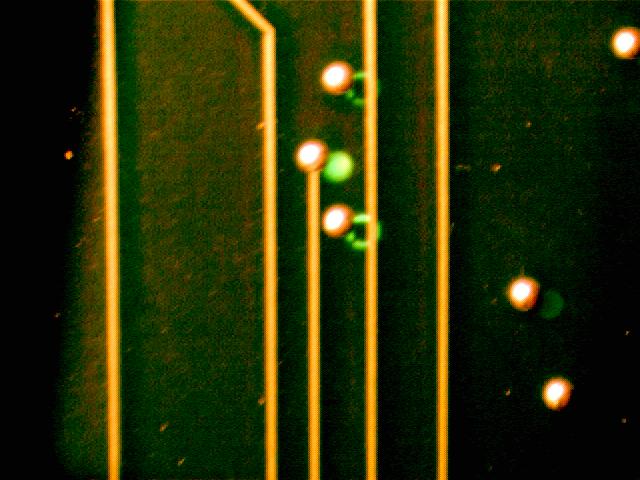
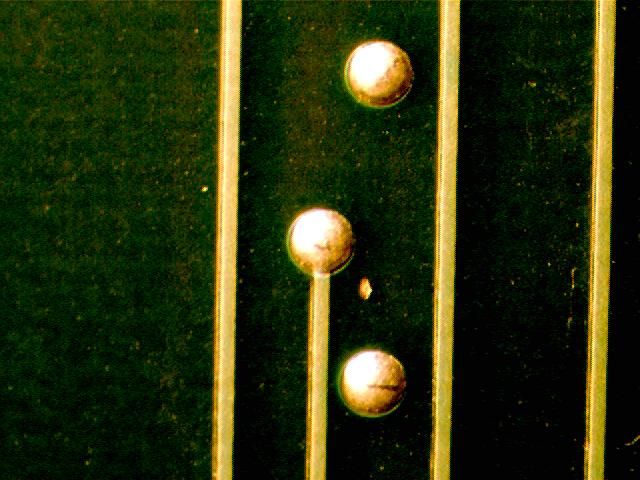
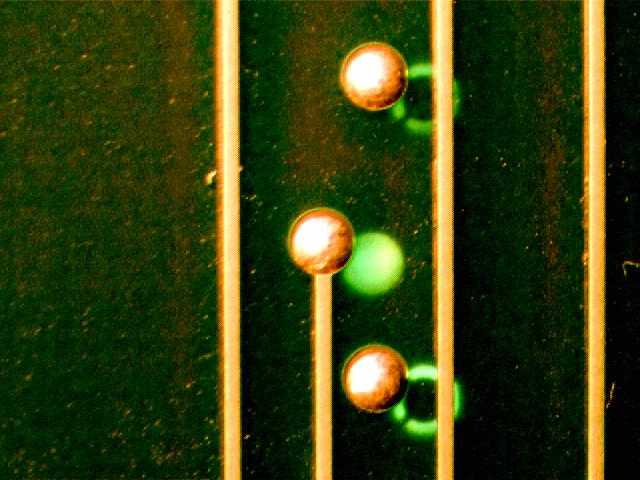
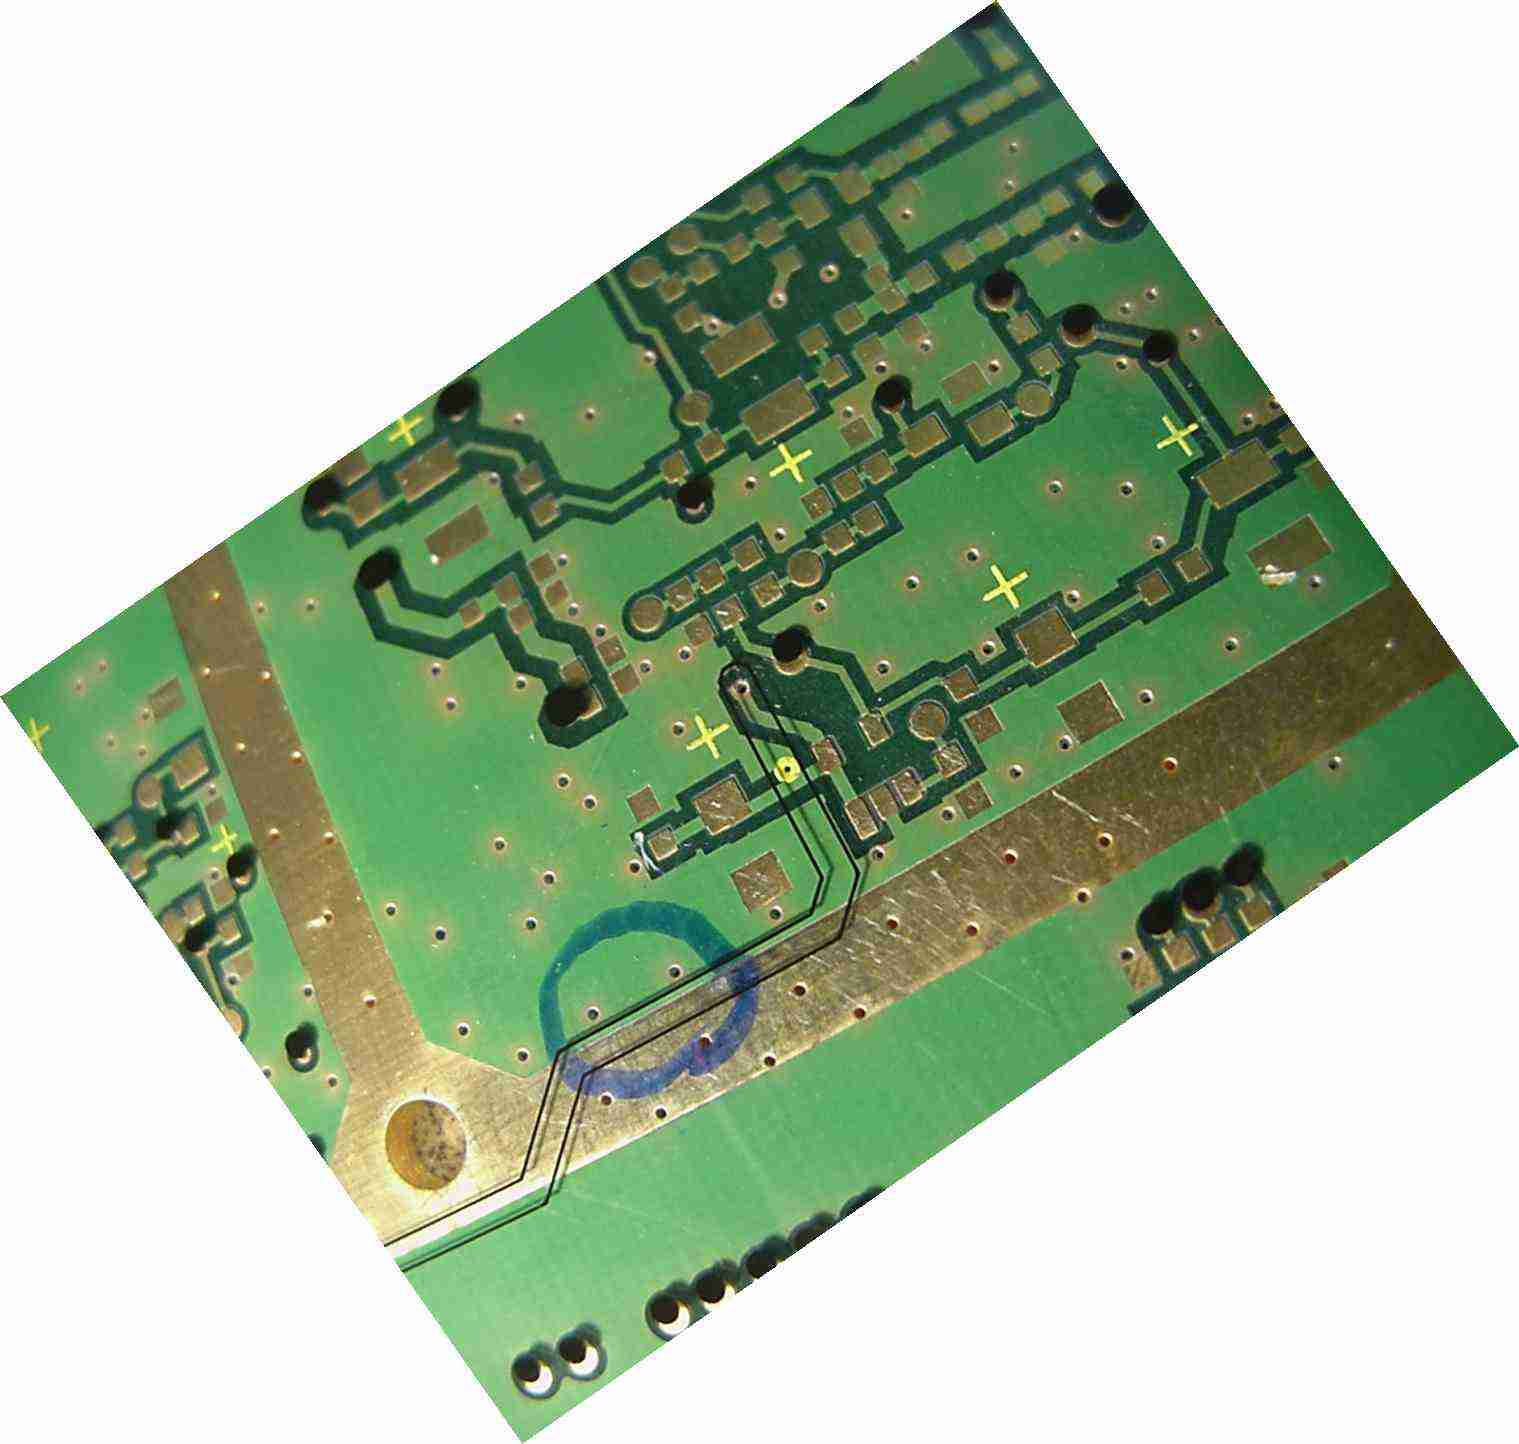
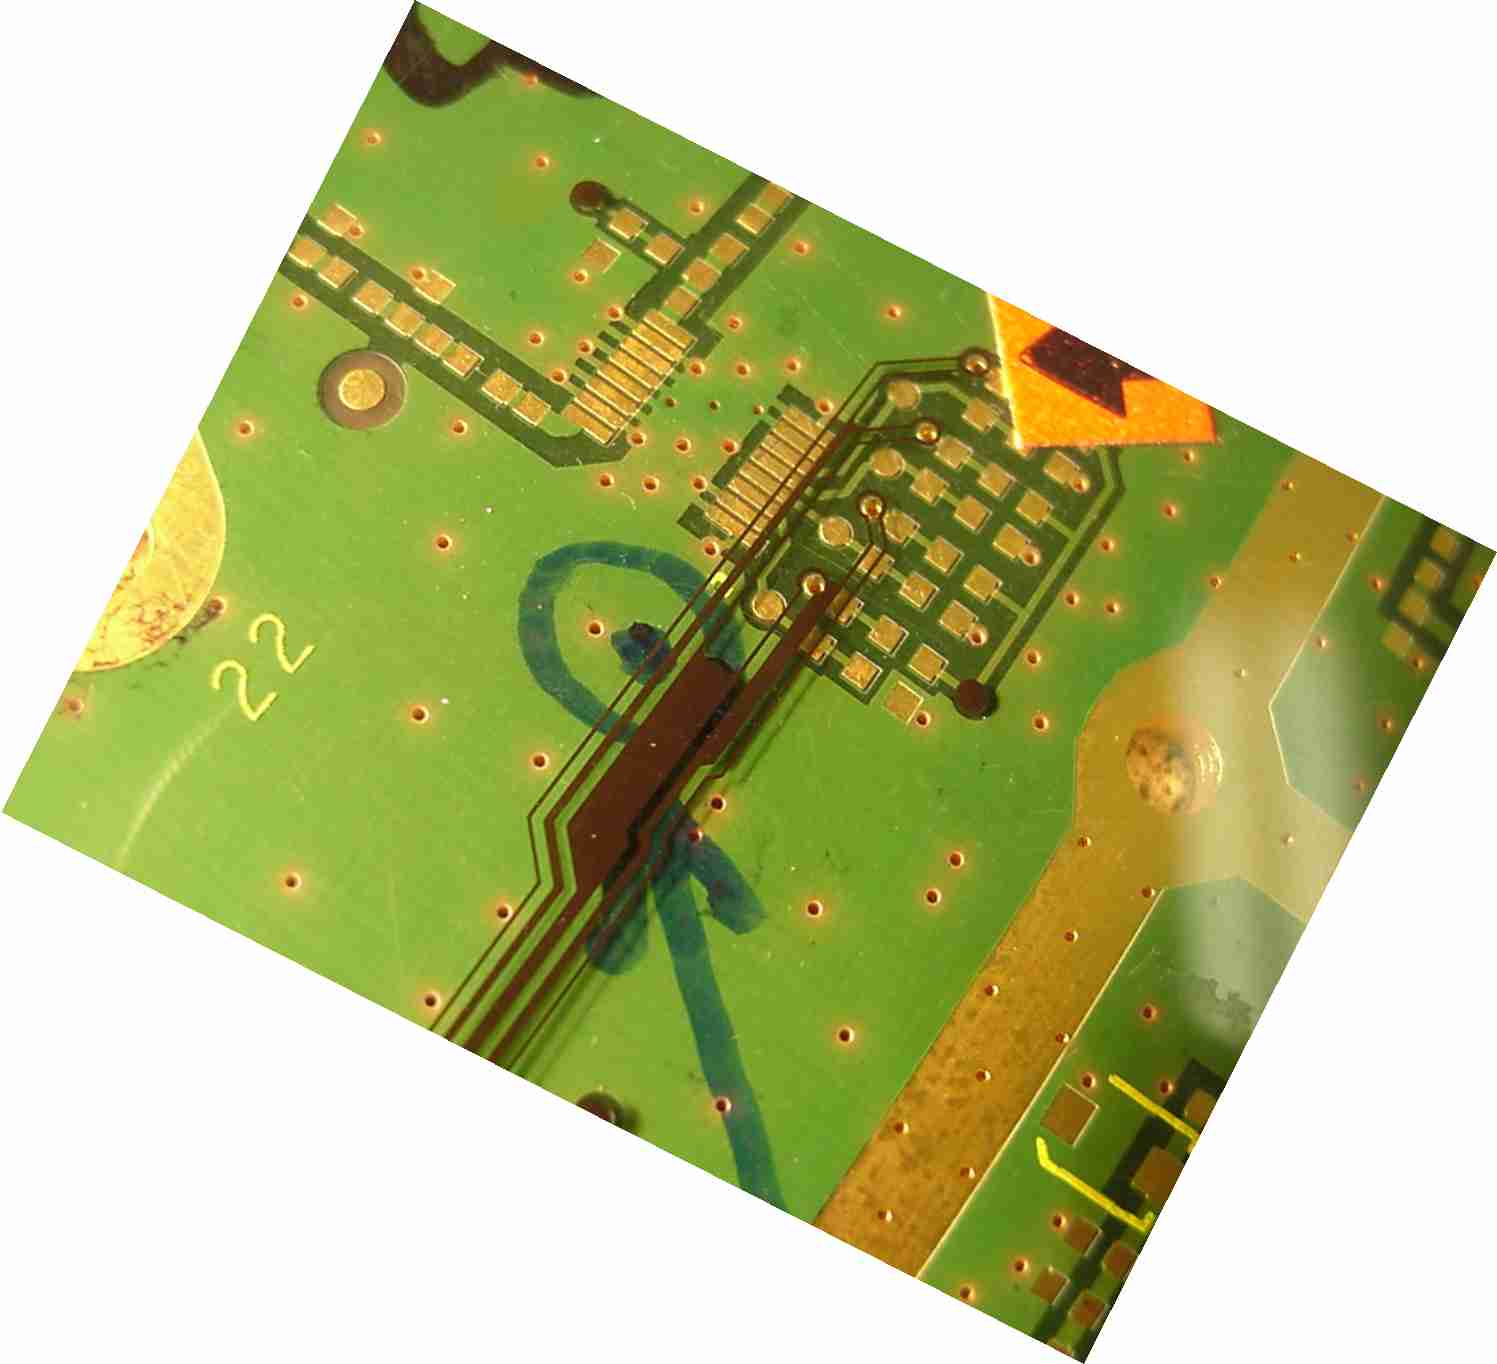
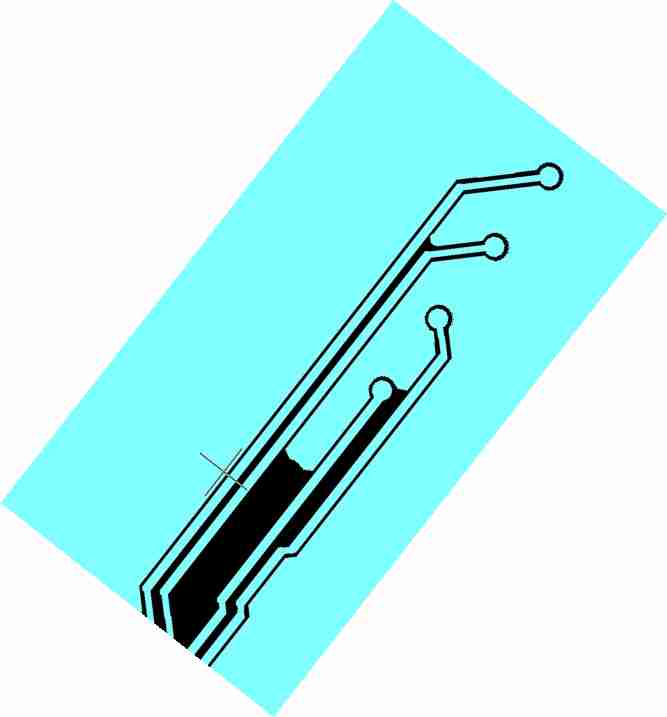
Power-Plane-to-Ground Segment 4A (350k MPEG) Power-Plane-to-Ground Segment 4B (350k MPEG) Power-Plane-to-Ground Segment 4C (350k MPEG) X-Ray of short found under IC (25k JPG) Locating Inner Trace Shorts to Ground PlanesHere are sequences of pictures showing shorts between nets and ground planes. The videos show the process of following the sound to the location of the short, coming from both ends of the shorted net (with respect to the ground plane). The place where the "sound trail" ends is where the current density drops as it goes into the ground plane from the shorted net. By noticing this effect while coming from either end of the shorted net, the location of the short circuit can be found within a few mm. I've asked the board owner to X-Ray the boards and send the pictures for this page show what a good job I've done (I hope). Board #1: First end point to short (350k MPEG) Second end point to short (350k MPEG) Picture of shorted area with PCB artwork showing inner layer for reference (250k JPG) Board #2: First end point to short (350k MPEG) Second end point to short (350k MPEG) Picture of shorted area with PCB artwork showing inner layer for reference (250k JPG) Picture of Gerber file showing 0.005 clearance at area of short (40k JPG)
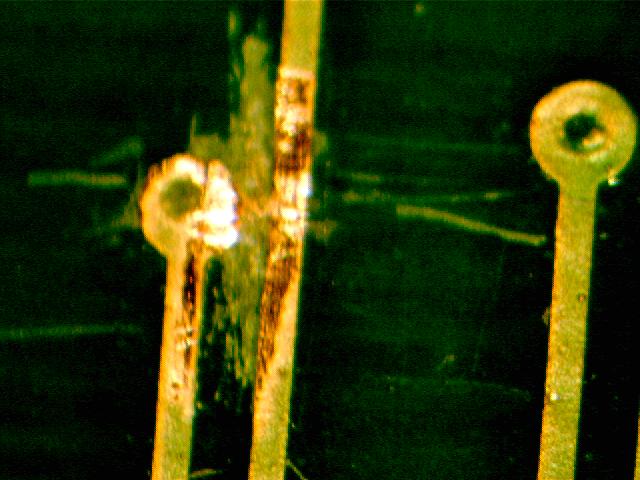
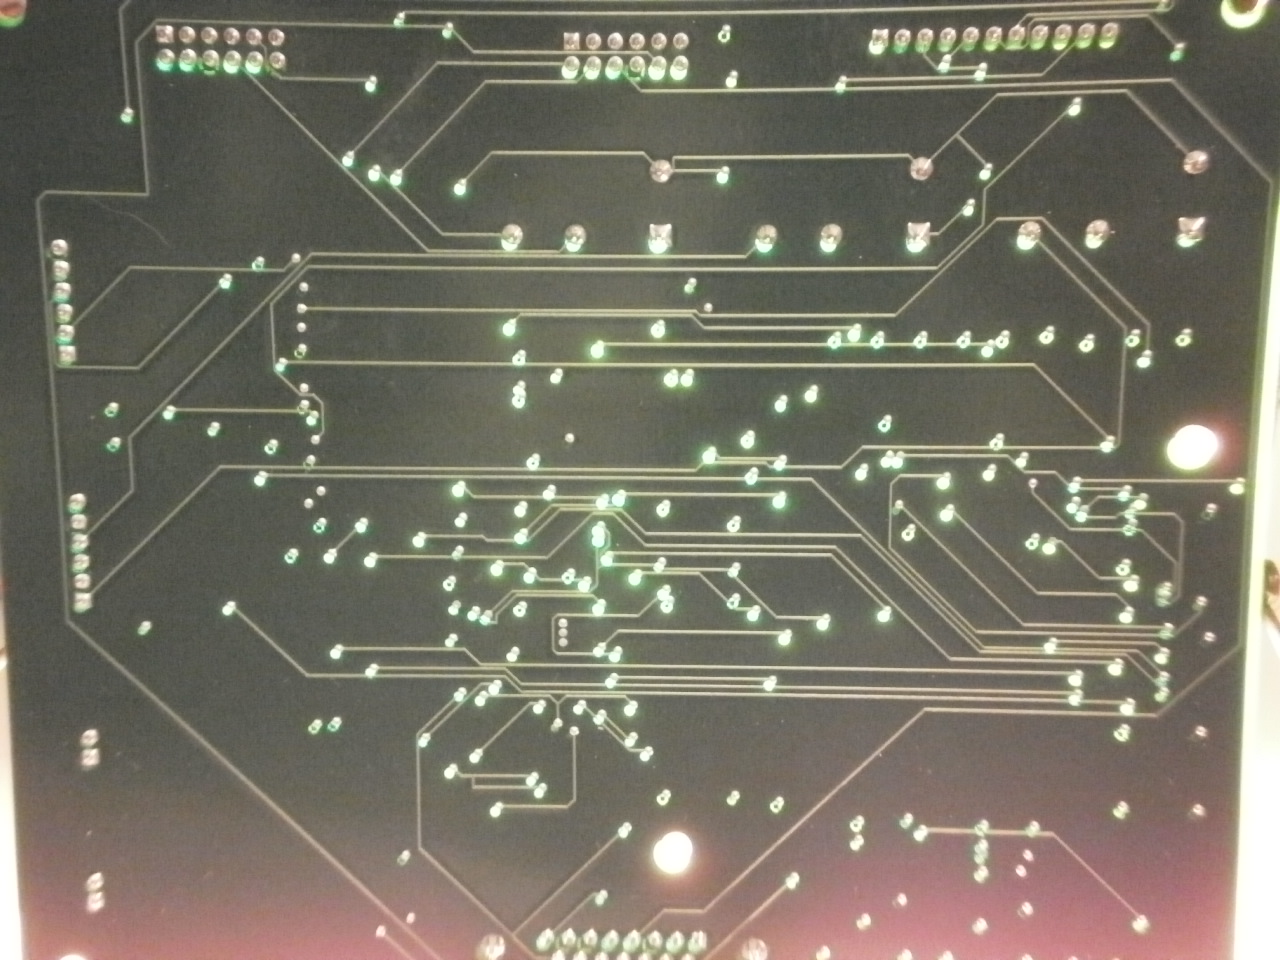
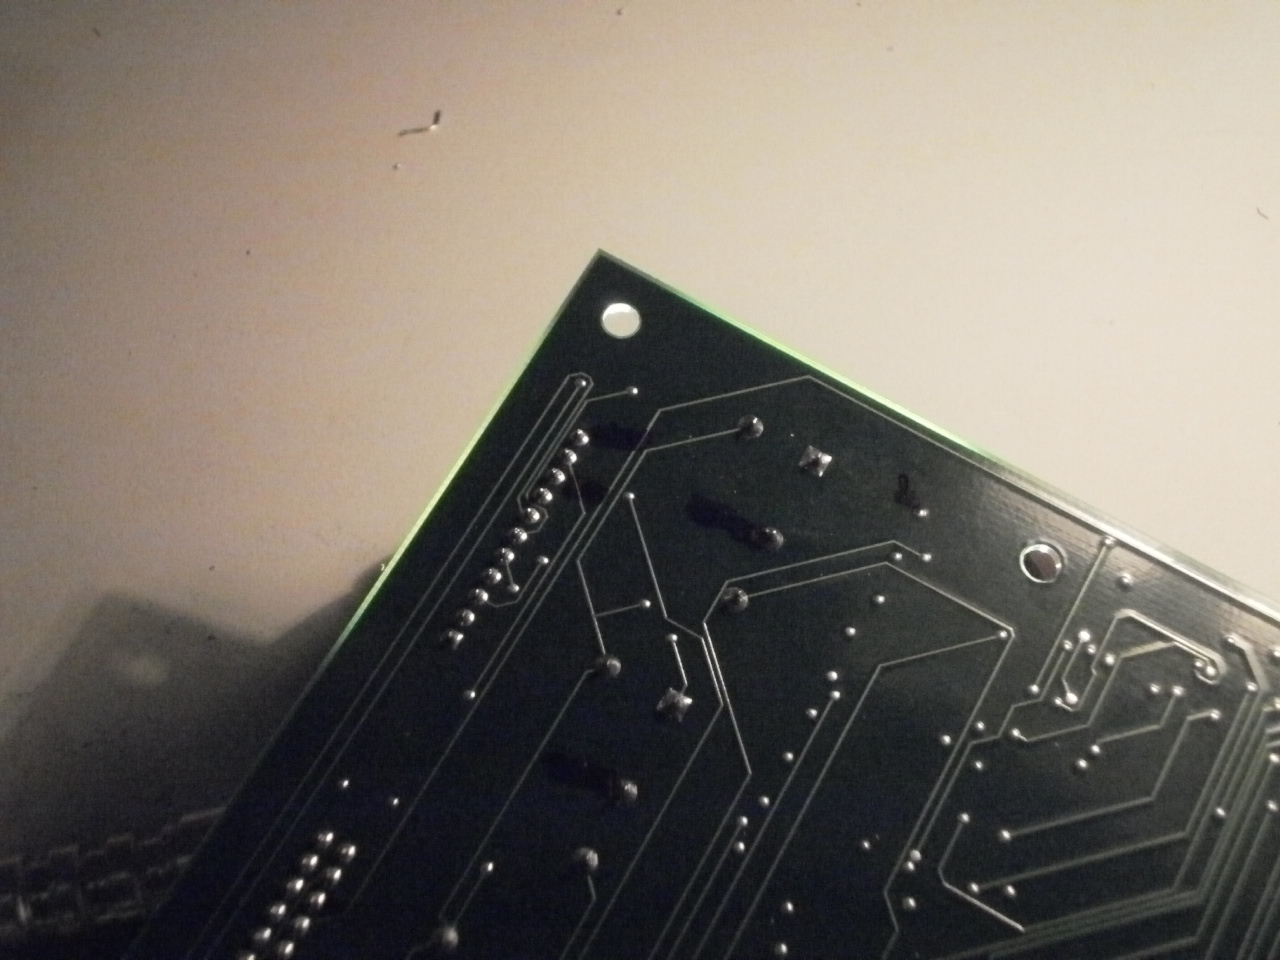
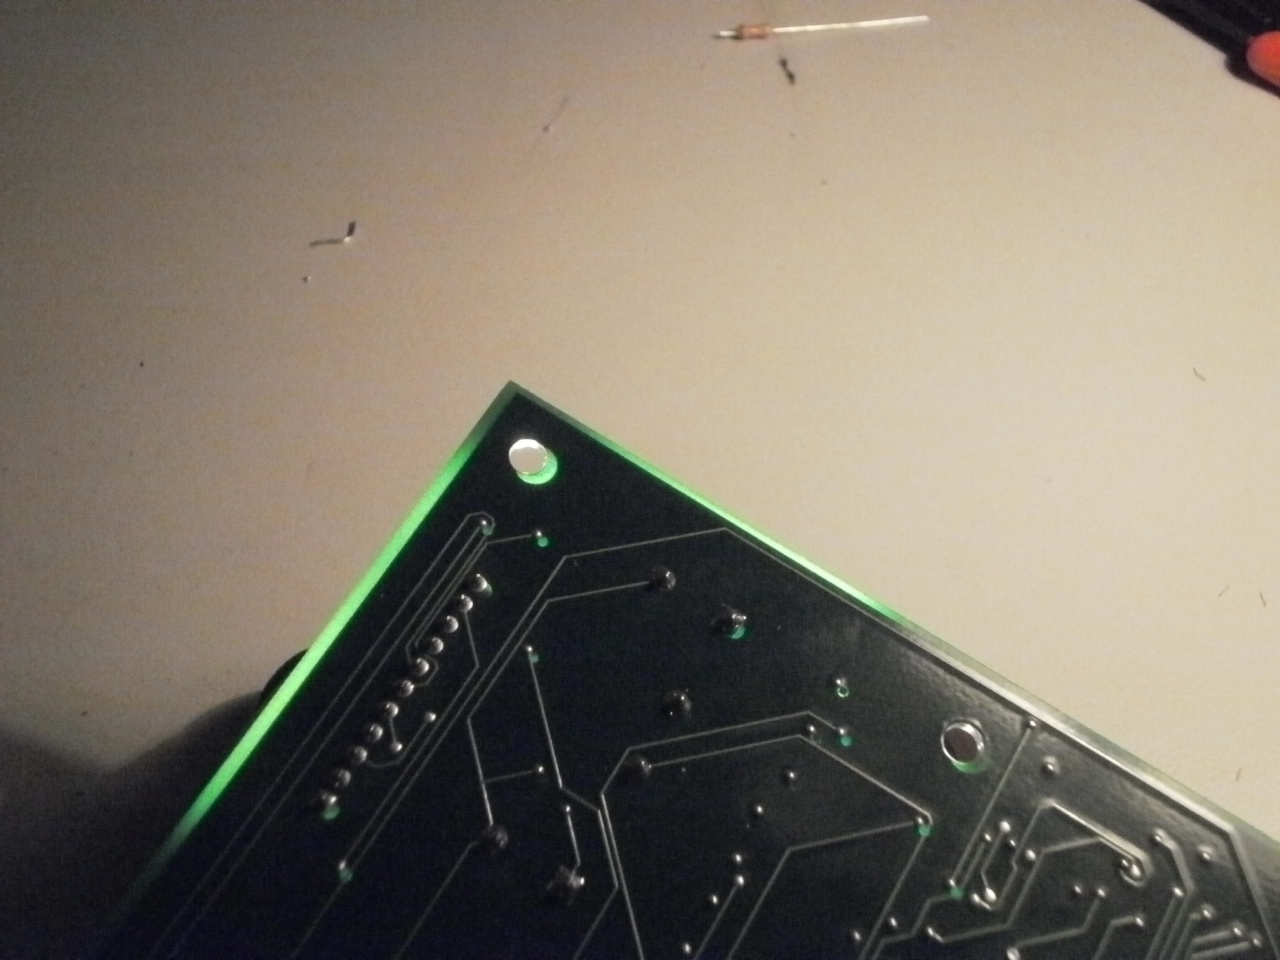
Here are some pictures of a short that was extremely difficult and confusing: Changing the current injection points provided no additional clue as to the location of the short. Every place I injected the test current showed the current going into the wires, but there was no path over the board to the short. It was acting as if every contact point (through-hole pins, and vias) in the Vcc net was shorted to the GND net. Finally I shined a bright light through the board and noticed an amazing difference between a good board and a bad board.
Good Board Bad Board
Do you have a challenging short circuit finding problem? Let me know the details and maybe I can feature your board here. (you pay postage, both ways) Finding the most difficult shorts is like solving a puzzle, and I like puzzles. I'd like to convince you that you deserve a ShortSniffer so you can demonstrate your puzzle solving skills, too. |
|
|


